How to Brew (Hot and Iced) Coffee Using a Chemex
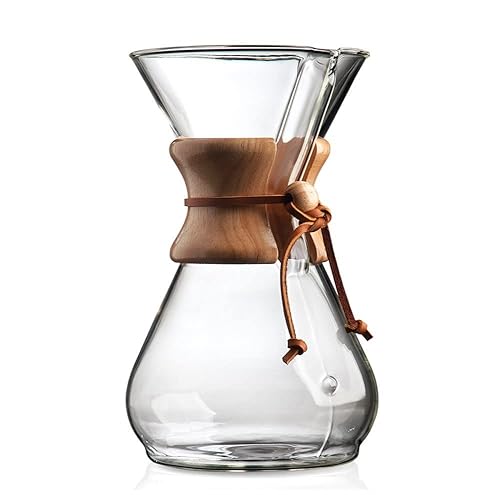
We use a Chemex on a daily basis to brew our morning coffee and to make an afternoon pick-me-up for guests that pop in. I used to work in specialty coffee, and quickly fell in love with this brew method. The Chemex is great if you’re buying high quality, fresh coffee beans, because it offers lots of clarity and sweetness to the coffee. I get really nerdy and talk at length about all the factors that go into a great cup of coffee and how to adjust each one in my blog post How to Brew Better Coffee at Home. If you are wanting to up your coffee game or if you are just getting into specialty coffee, definitely check out that post - it’s a great place to start!
Wherever you are on your coffee journey, I hope you find these (very detailed, very specific) instructions helpful! I even created a video for all of you visual and auditory learners out there! I start with how to brew hot coffee, and then you’ll find instructions on how to adjust to make iced coffee at the end. Happy brewing!
How to brew HOT coffee using a Chemex:
WHAT YOU’LL NEED:
Burr Grinder (electric or manual)
25g Coffee Beans
Timer
400g+ water
INSTRUCTIONS:
If you watched the video above, you can skip this section unless you’d like to review the instructions in written form here!
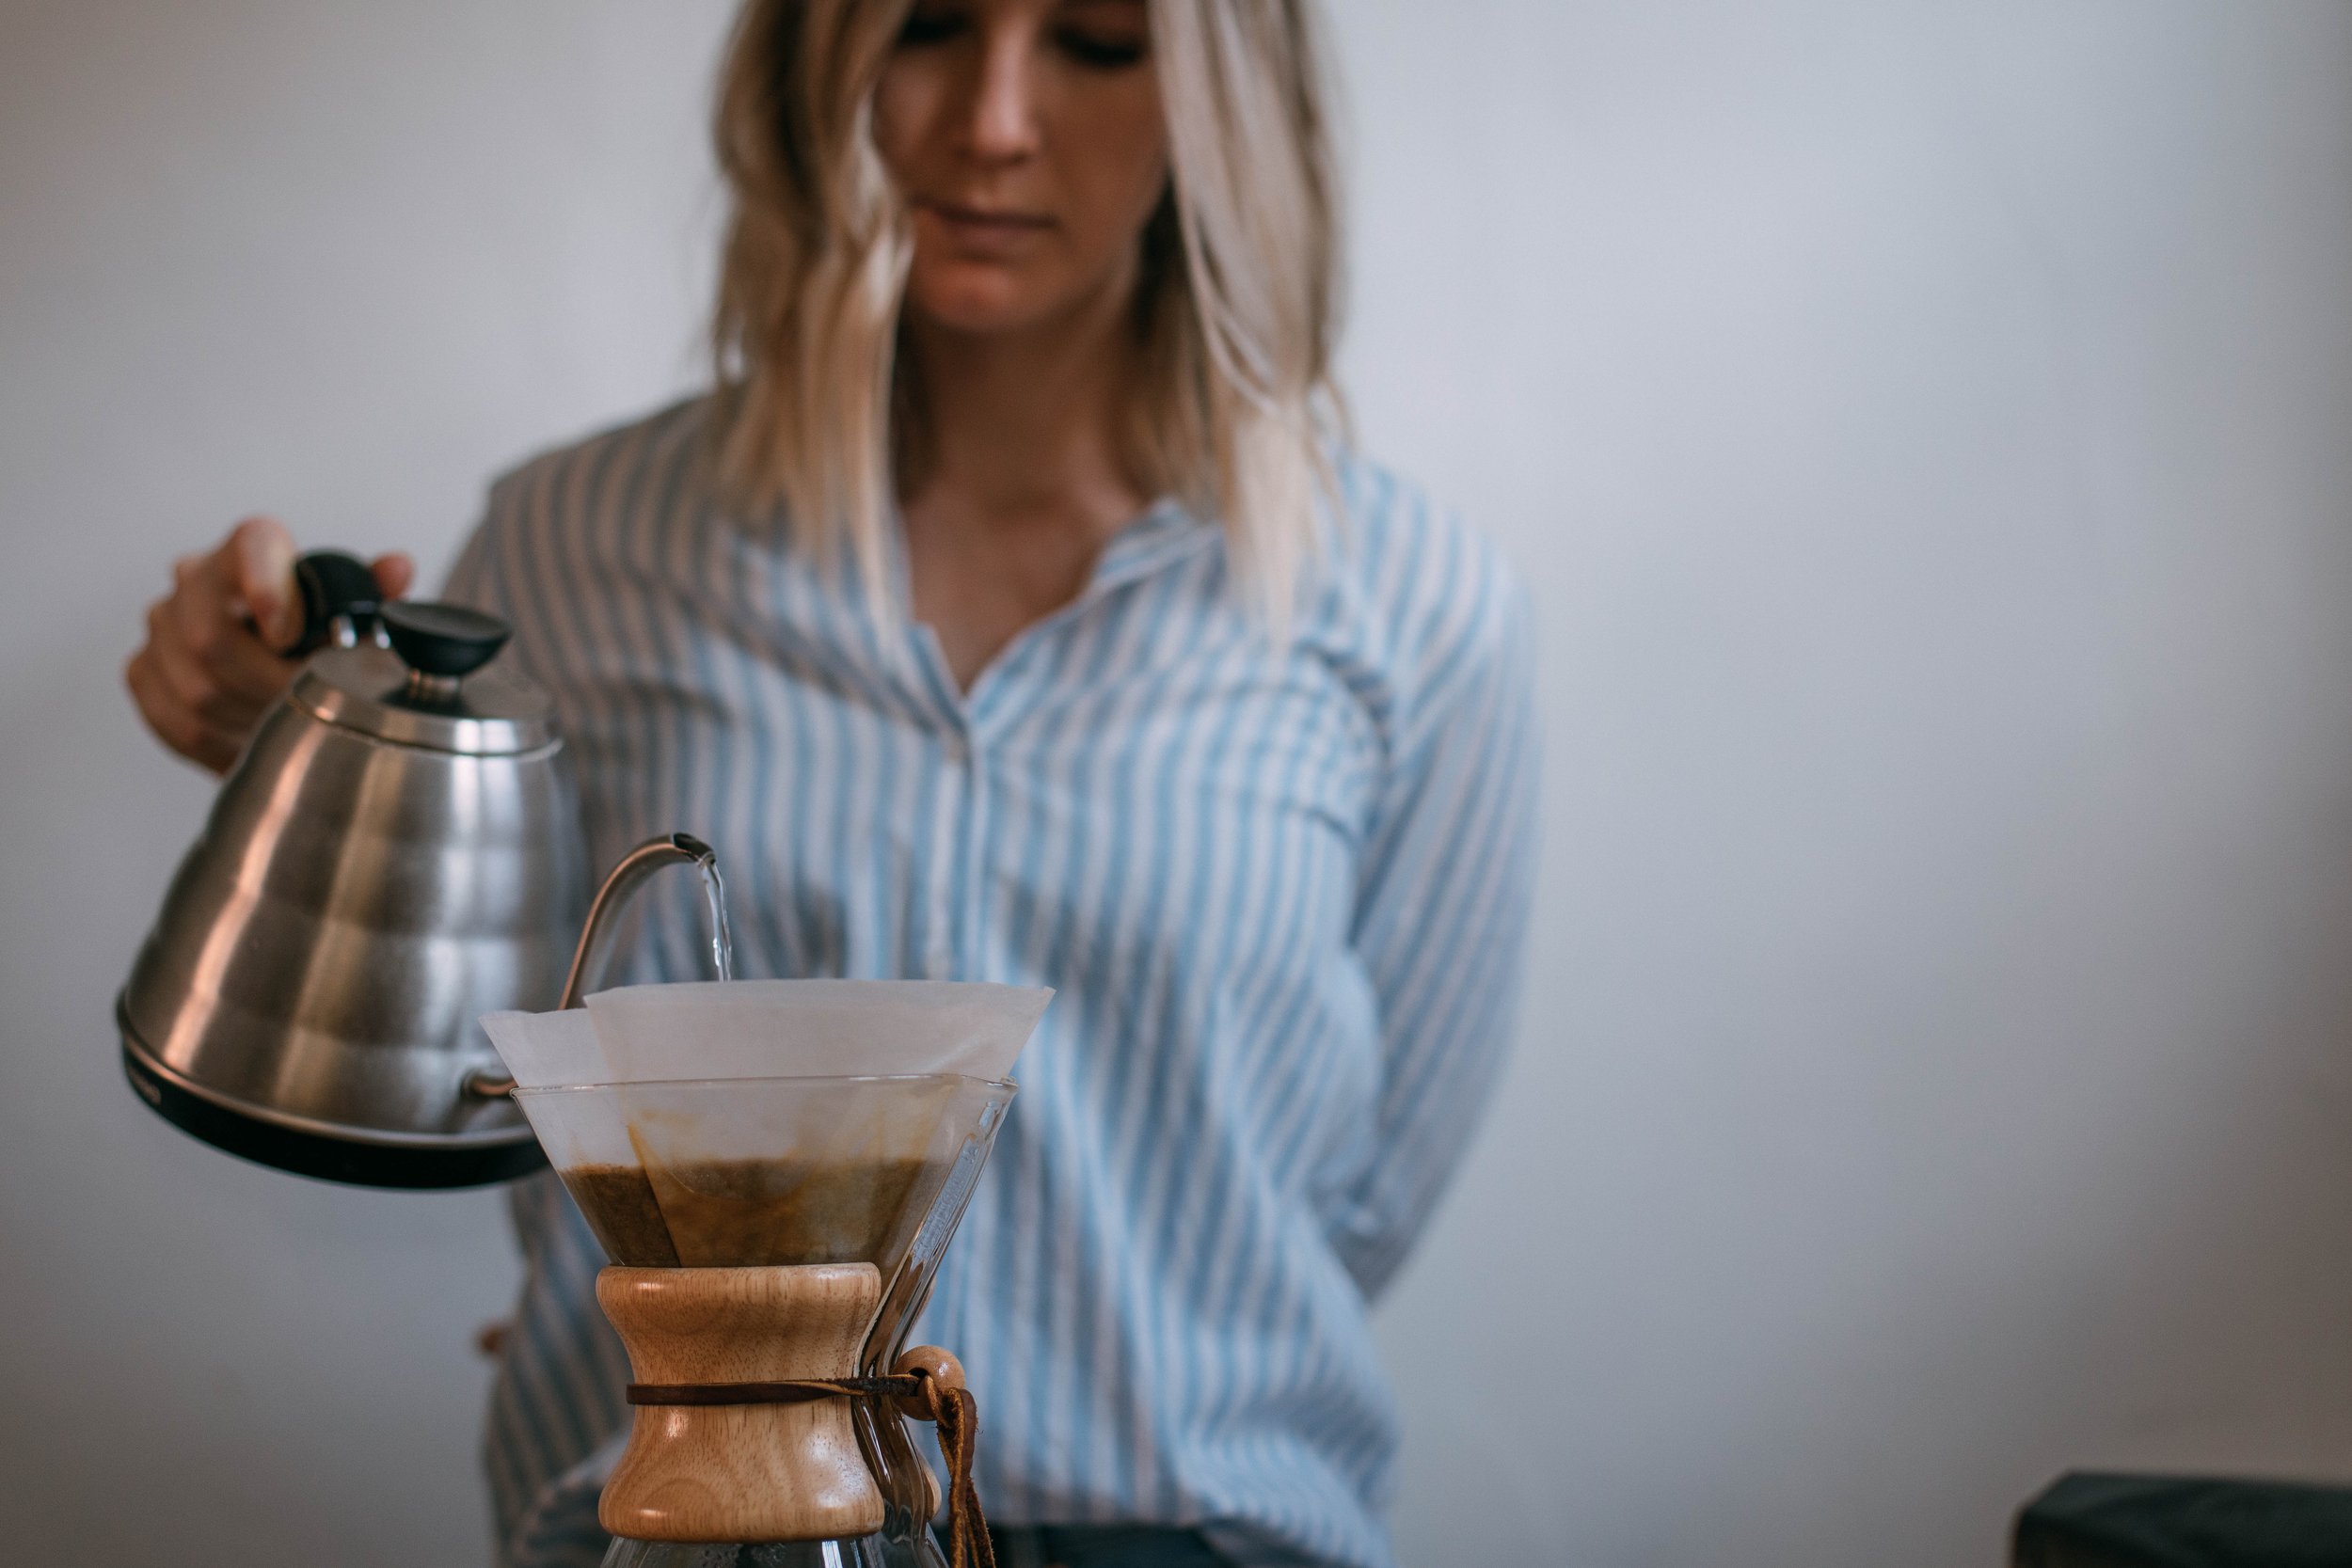
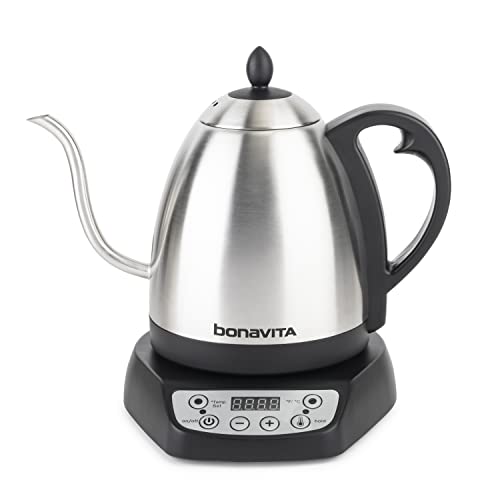
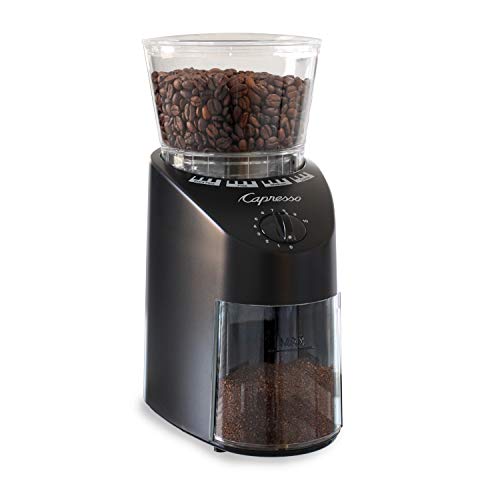
Boil your water. While your water is heating up, weigh your coffee beans and grind them. When using a Chemex, you’ll want to use a medium grind (it should look like sea salt). I use a 1:16 ratio of coffee to water. For a 12oz cup of coffee, you’ll want to use 25g of coffee and roughly 400g of water. You can give yourself up to 15g of water over or under without affecting the taste much.
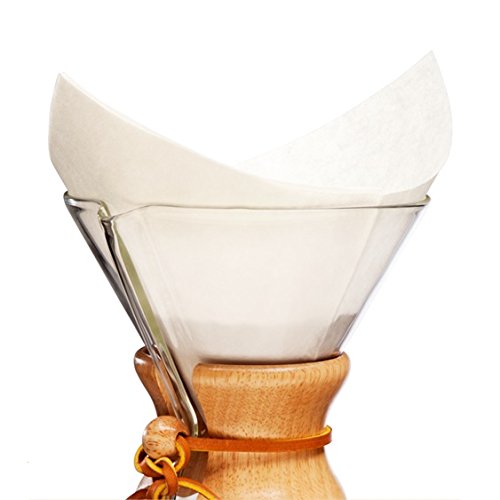
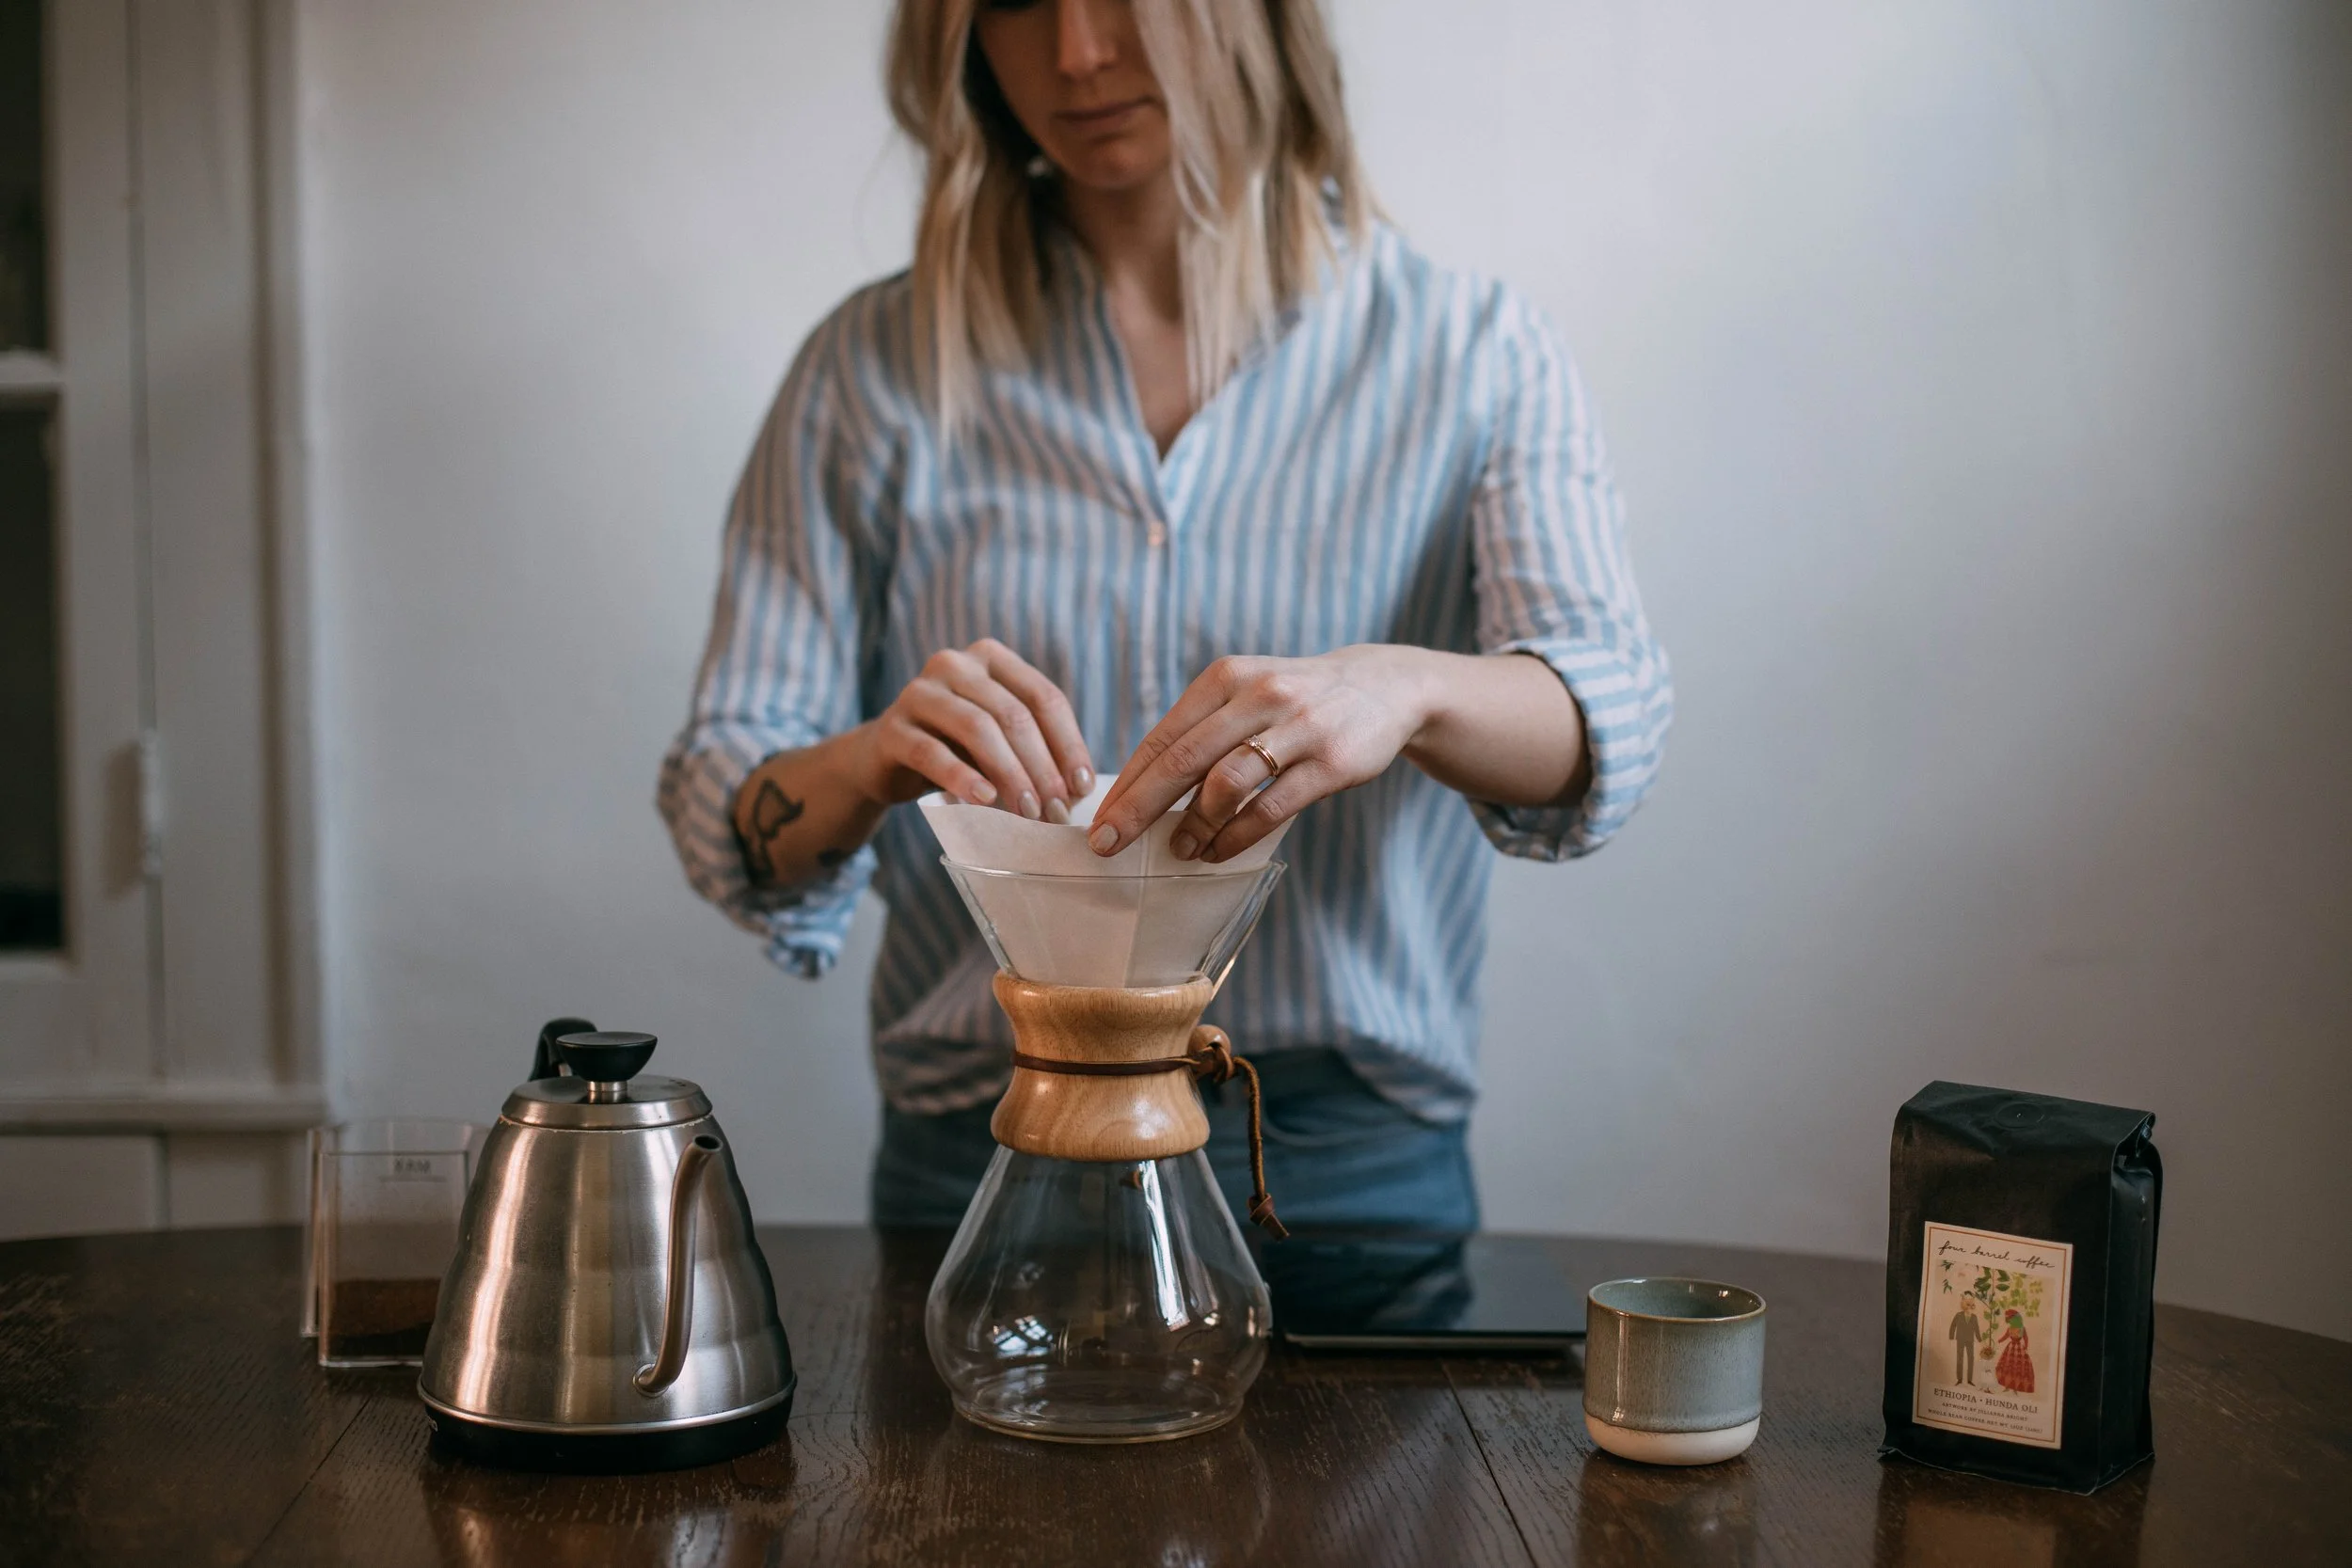
Once the water has finished heating up, rinse the filter by placing it in the Chemex, and pouring some of the hot water into the filter, thoroughly soaking it. This will remove any unwanted paper taste that the filter might add to the coffee. After that, pour the water from the Chemex into whatever cup(s) you’re using. This will heat them up and prevent your coffee from getting cold too quickly.
Next, you’ll want to place the Chemex (with the filter in it) onto your scale and tare it out. Pour the coffee grinds into the filter and note how many grams of coffee you ended up with. (Sometimes it changes between weighing it before you grind it and after grinding it, depending on your grinder.) Whatever you end up with, multiply that by 16, and you have the number of grams of water you’ll pour.
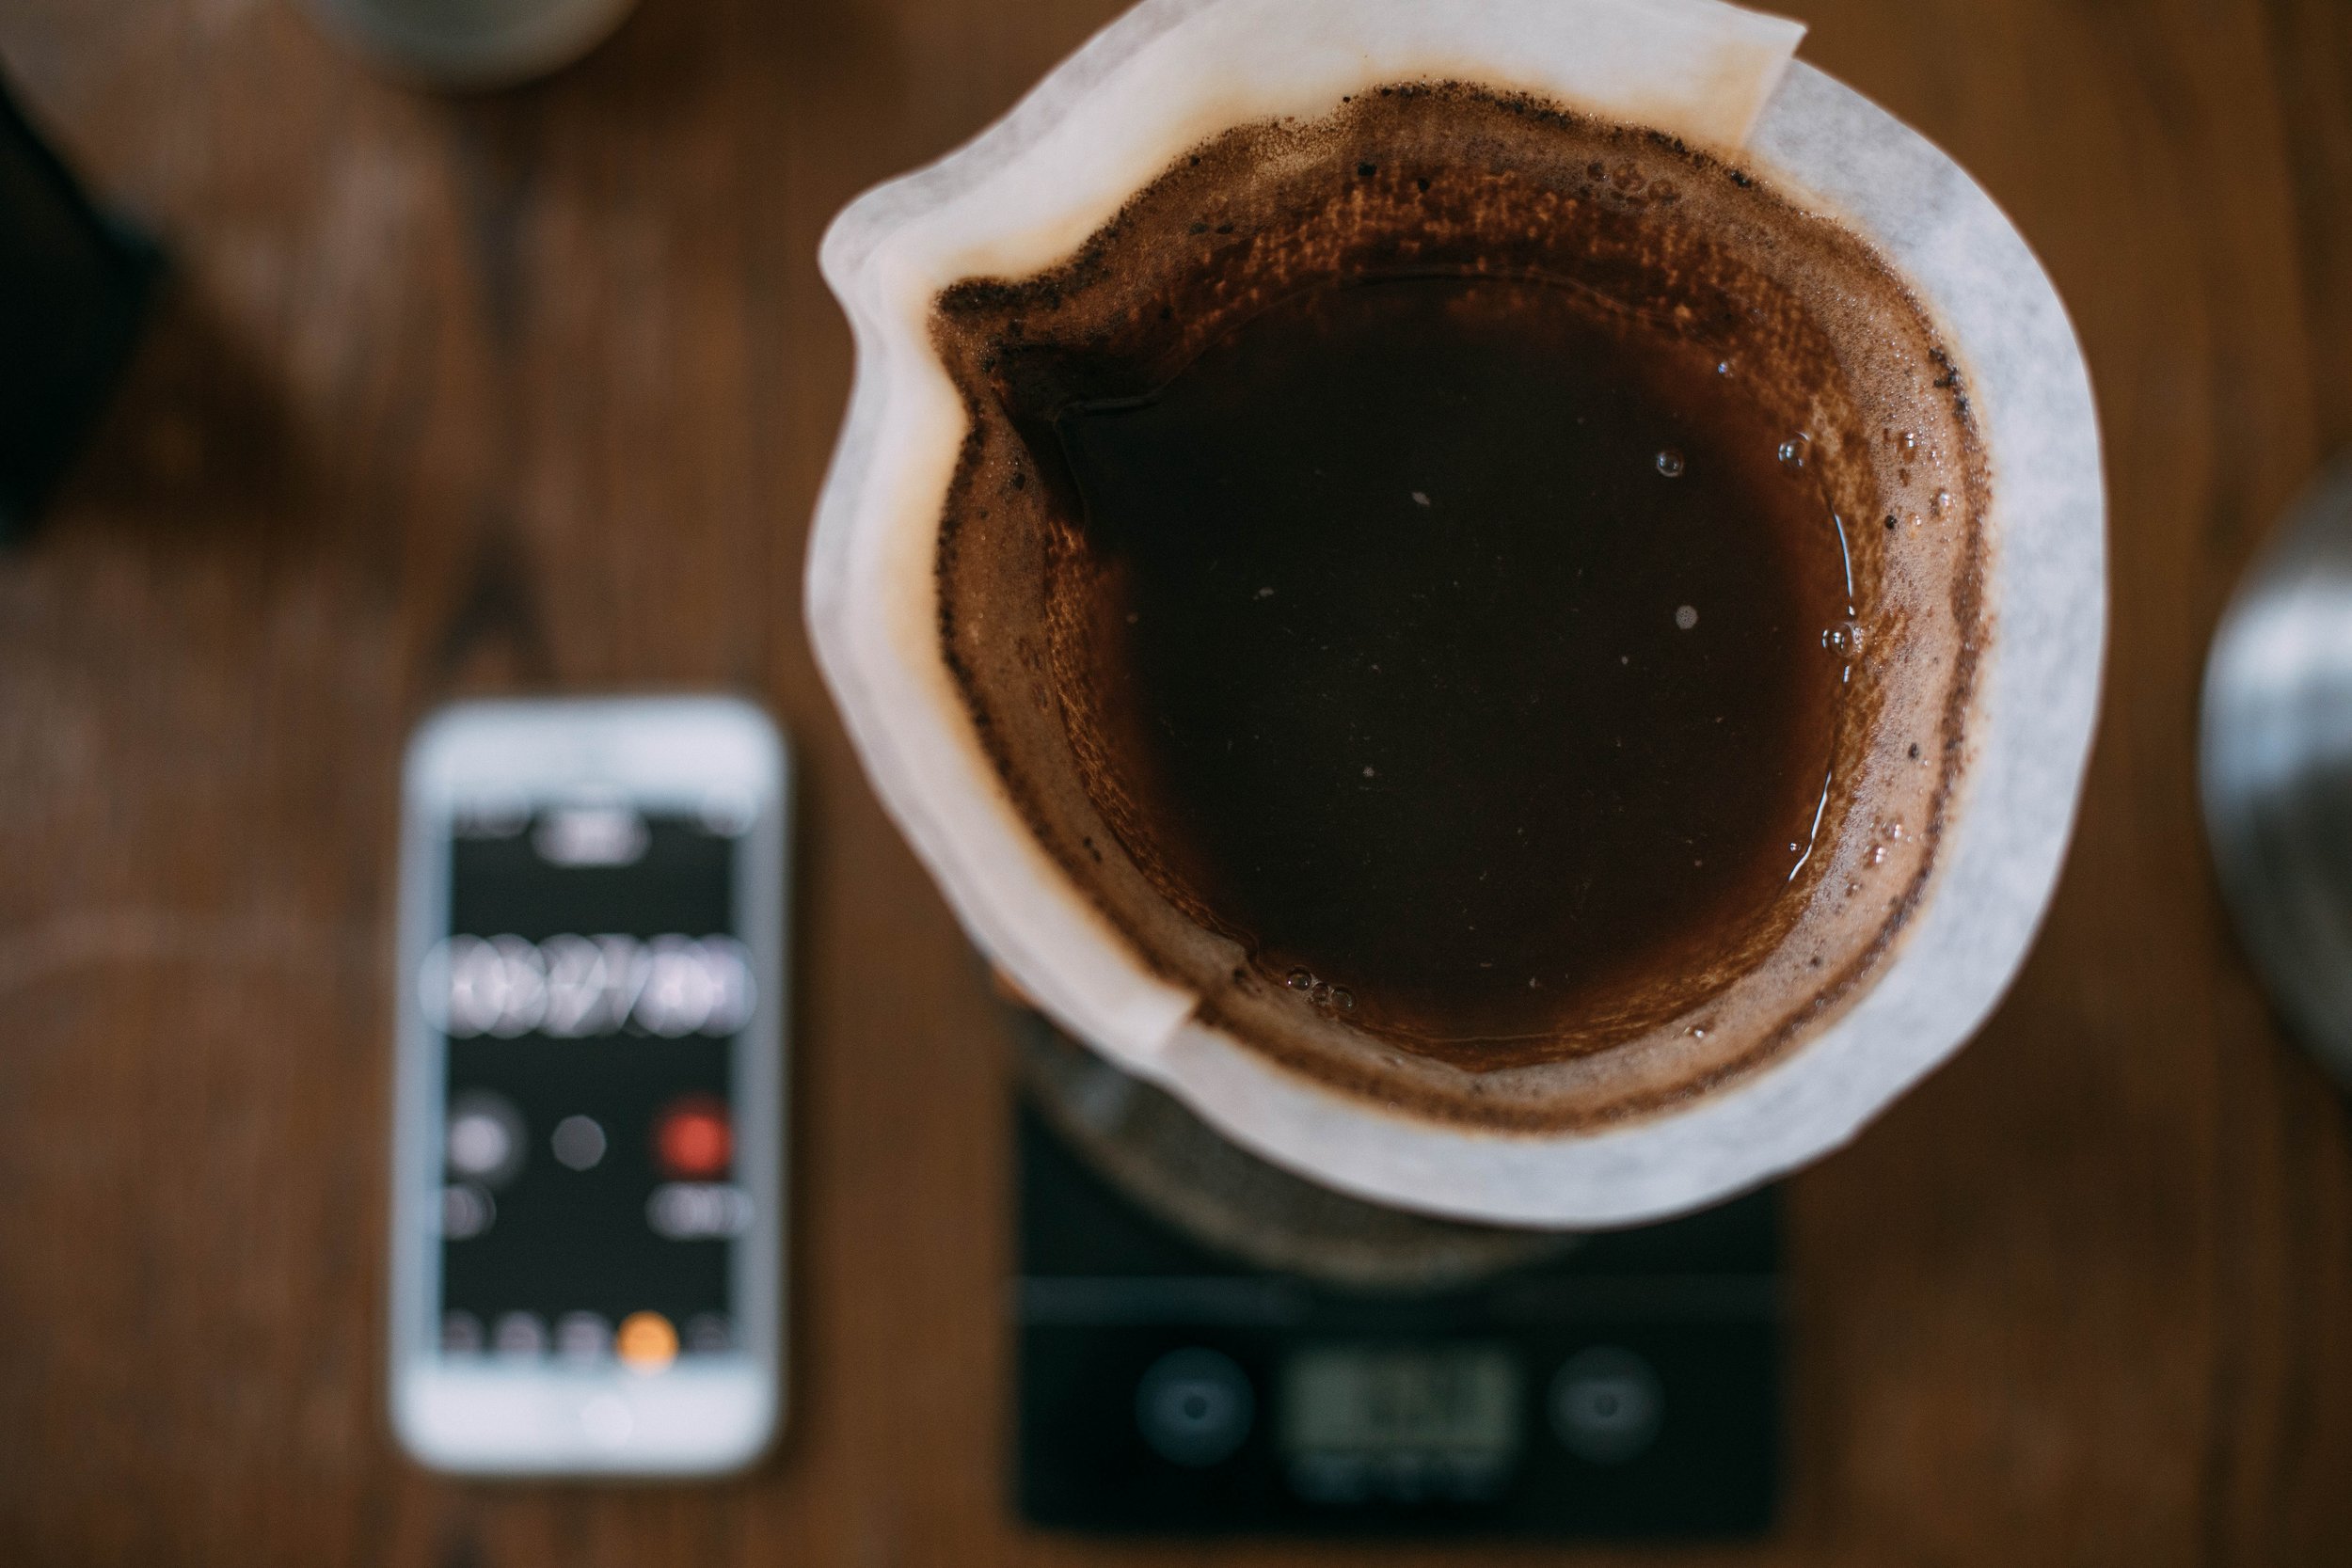
Tare out your scale again. Before you start brewing, you’ll want to let the grounds bloom. This is what is called the pre-brew - it allows any unwanted gases in the coffee to be released that might negatively affect the taste of the coffee. To do this, pour just a little bit of your hot water over the grounds - just enough to soak them. This should be no more than double the amount of grams of coffee that you started with. So if you started with 25g of coffee, don’t pour any more than 50g of water for the bloom. As soon as you finish pouring the bloom, start your stopwatch. Wait until the stopwatch hits 30 seconds, and then start pouring.
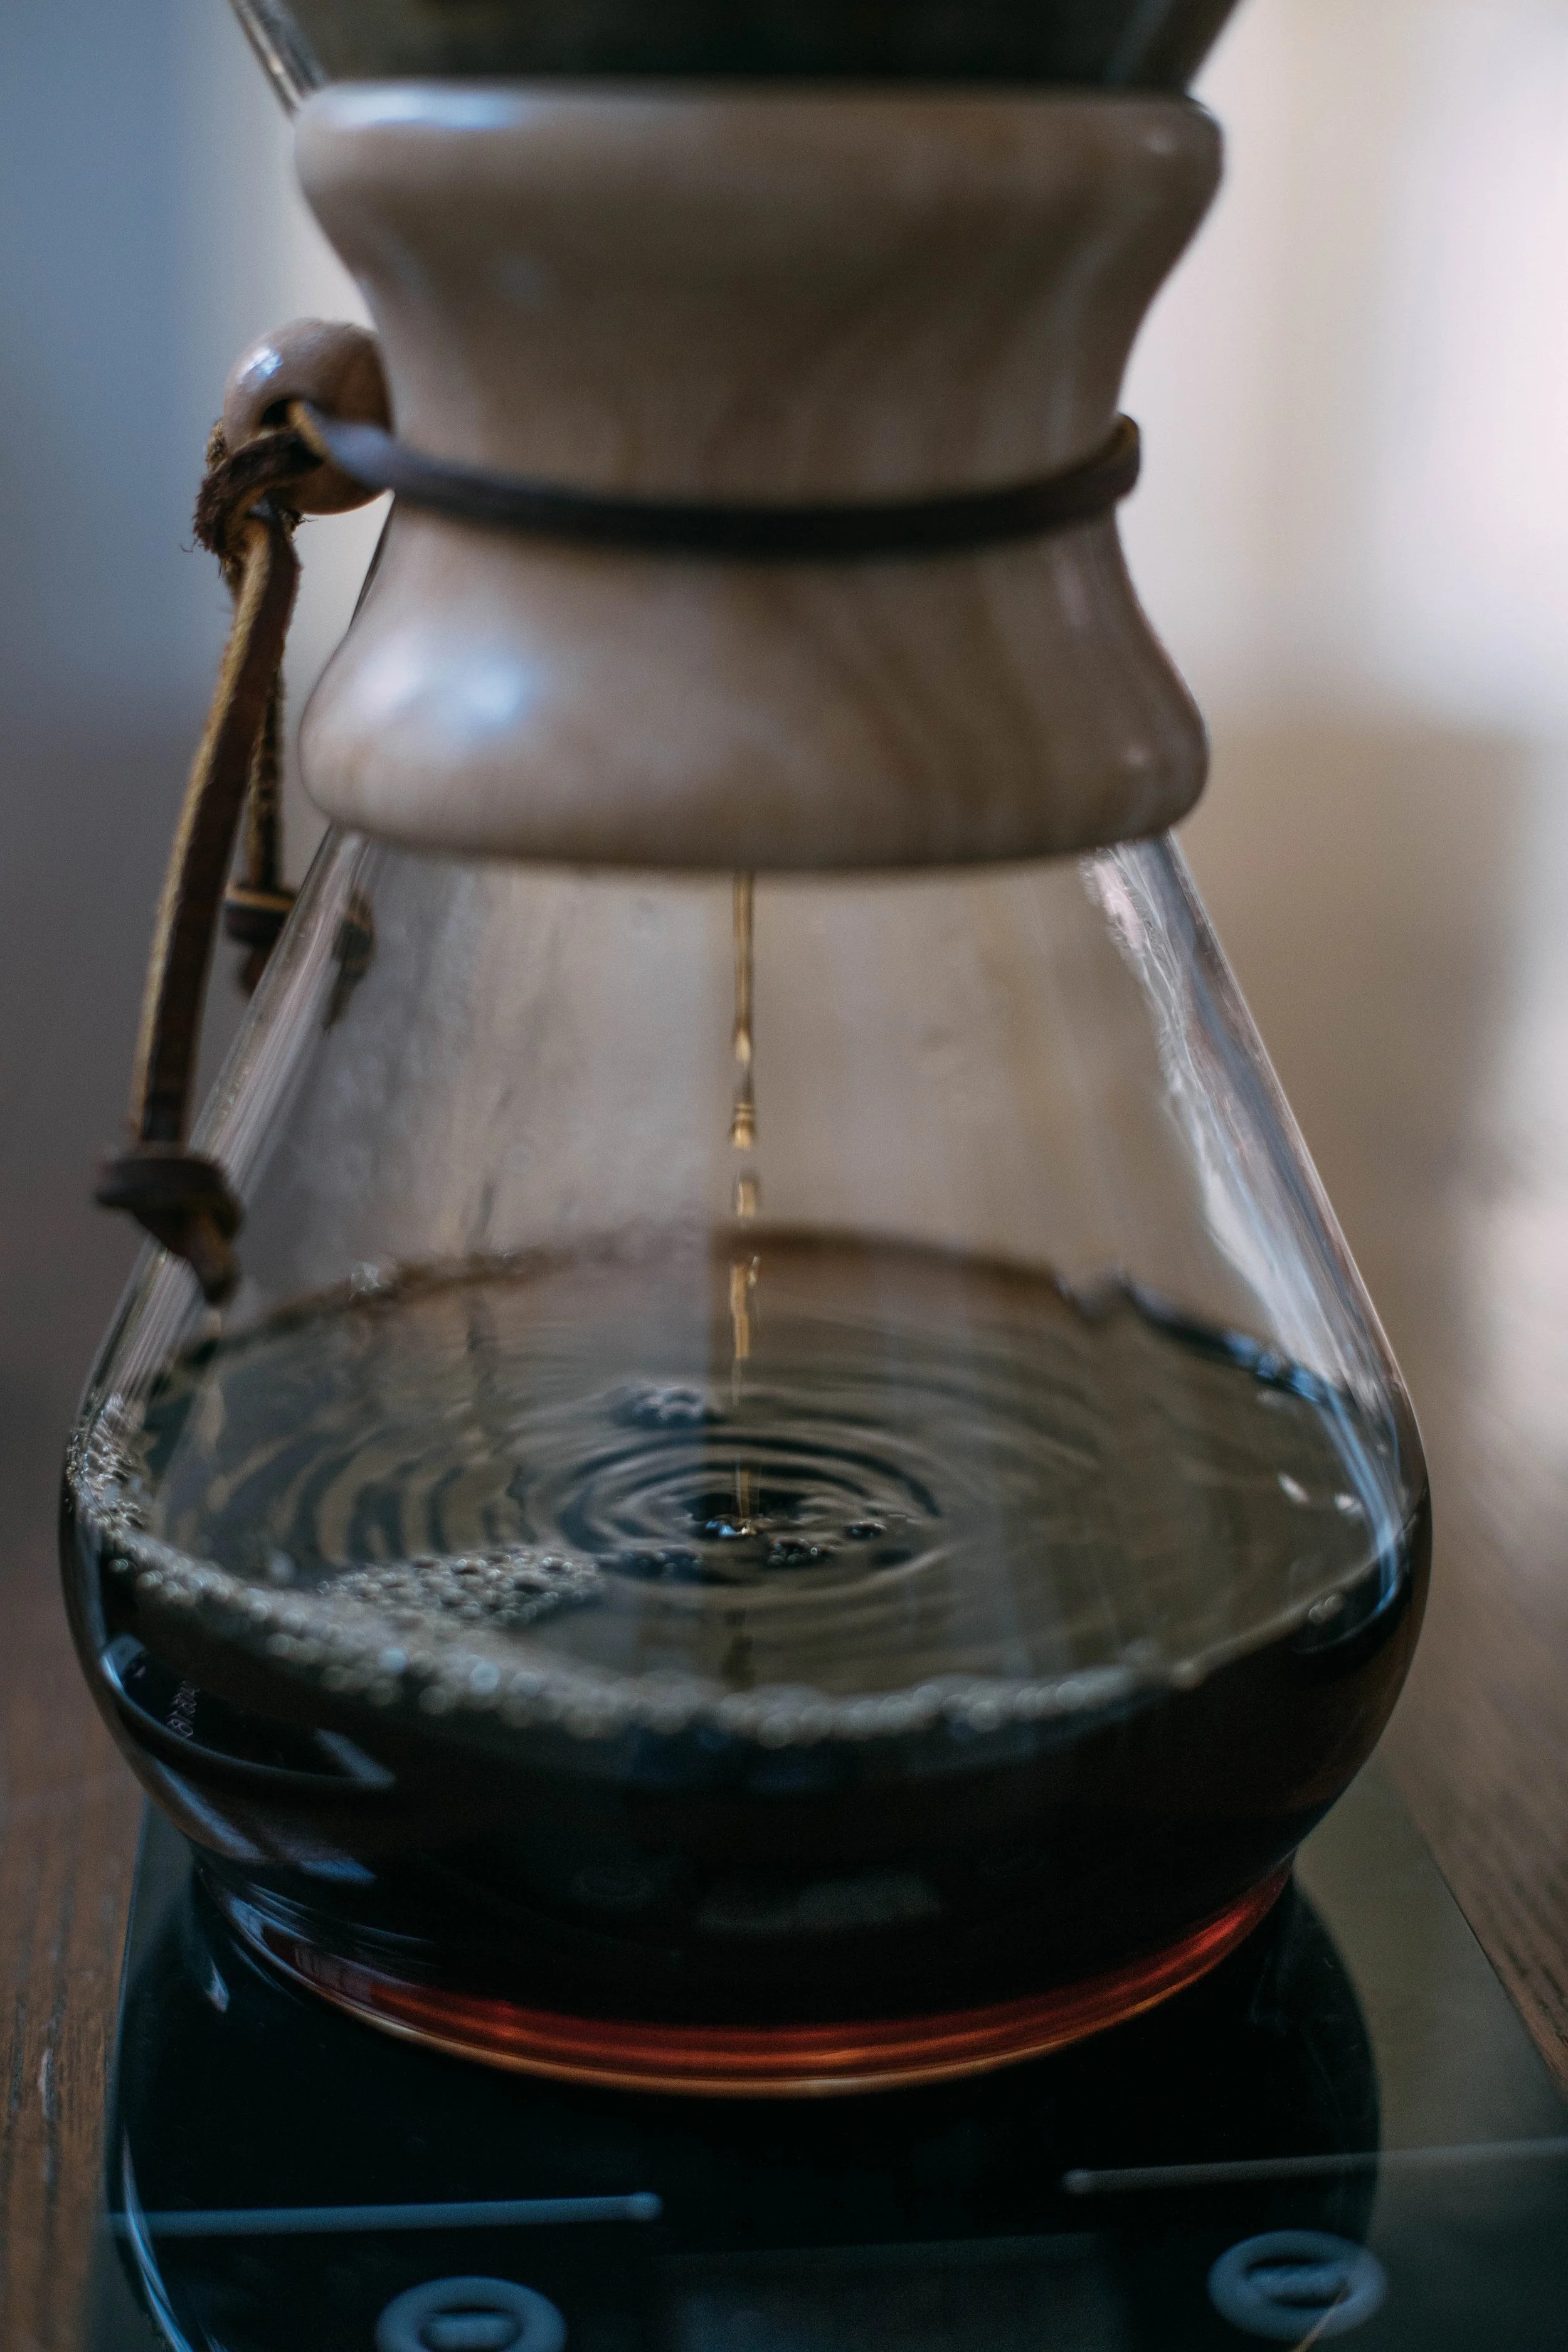
Pouring with a slow and consistent stream, you’ll want to pour until you hit 400g. Make sure to pour slowly enough that you are pouring until your stopwatch hits 2 minutes. This takes practice getting your pour slow and steady enough to hit 400g right at 2 minutes, but you can do it! (This is way easier when making coffee for two, because you don't have to pour so slowly.) Make sure to keep your eyes on both your scale and your stopwatch as you're brewing!
Start in the middle and pour in quarter-sized circles, and then go out from there, pouring in tight circles, out towards the edge and back towards the middle. In and out. At 1 minute, stay primarily in the middle in quarter-size circles, going out again once every 15 seconds or so. Keep an eye out for any dark spots and make sure to hit them as you continue to pour in circles. Make sure to watch your time and your water weight! Again, the goal is to reach your determined amount of water right at 2 minutes.
If your clock is getting close to 2 minutes and you still have a good amount of water to go, just quickly dump the rest of the remaining grams of water into the middle of the Chemex so you don’t risk over-extracting your coffee.
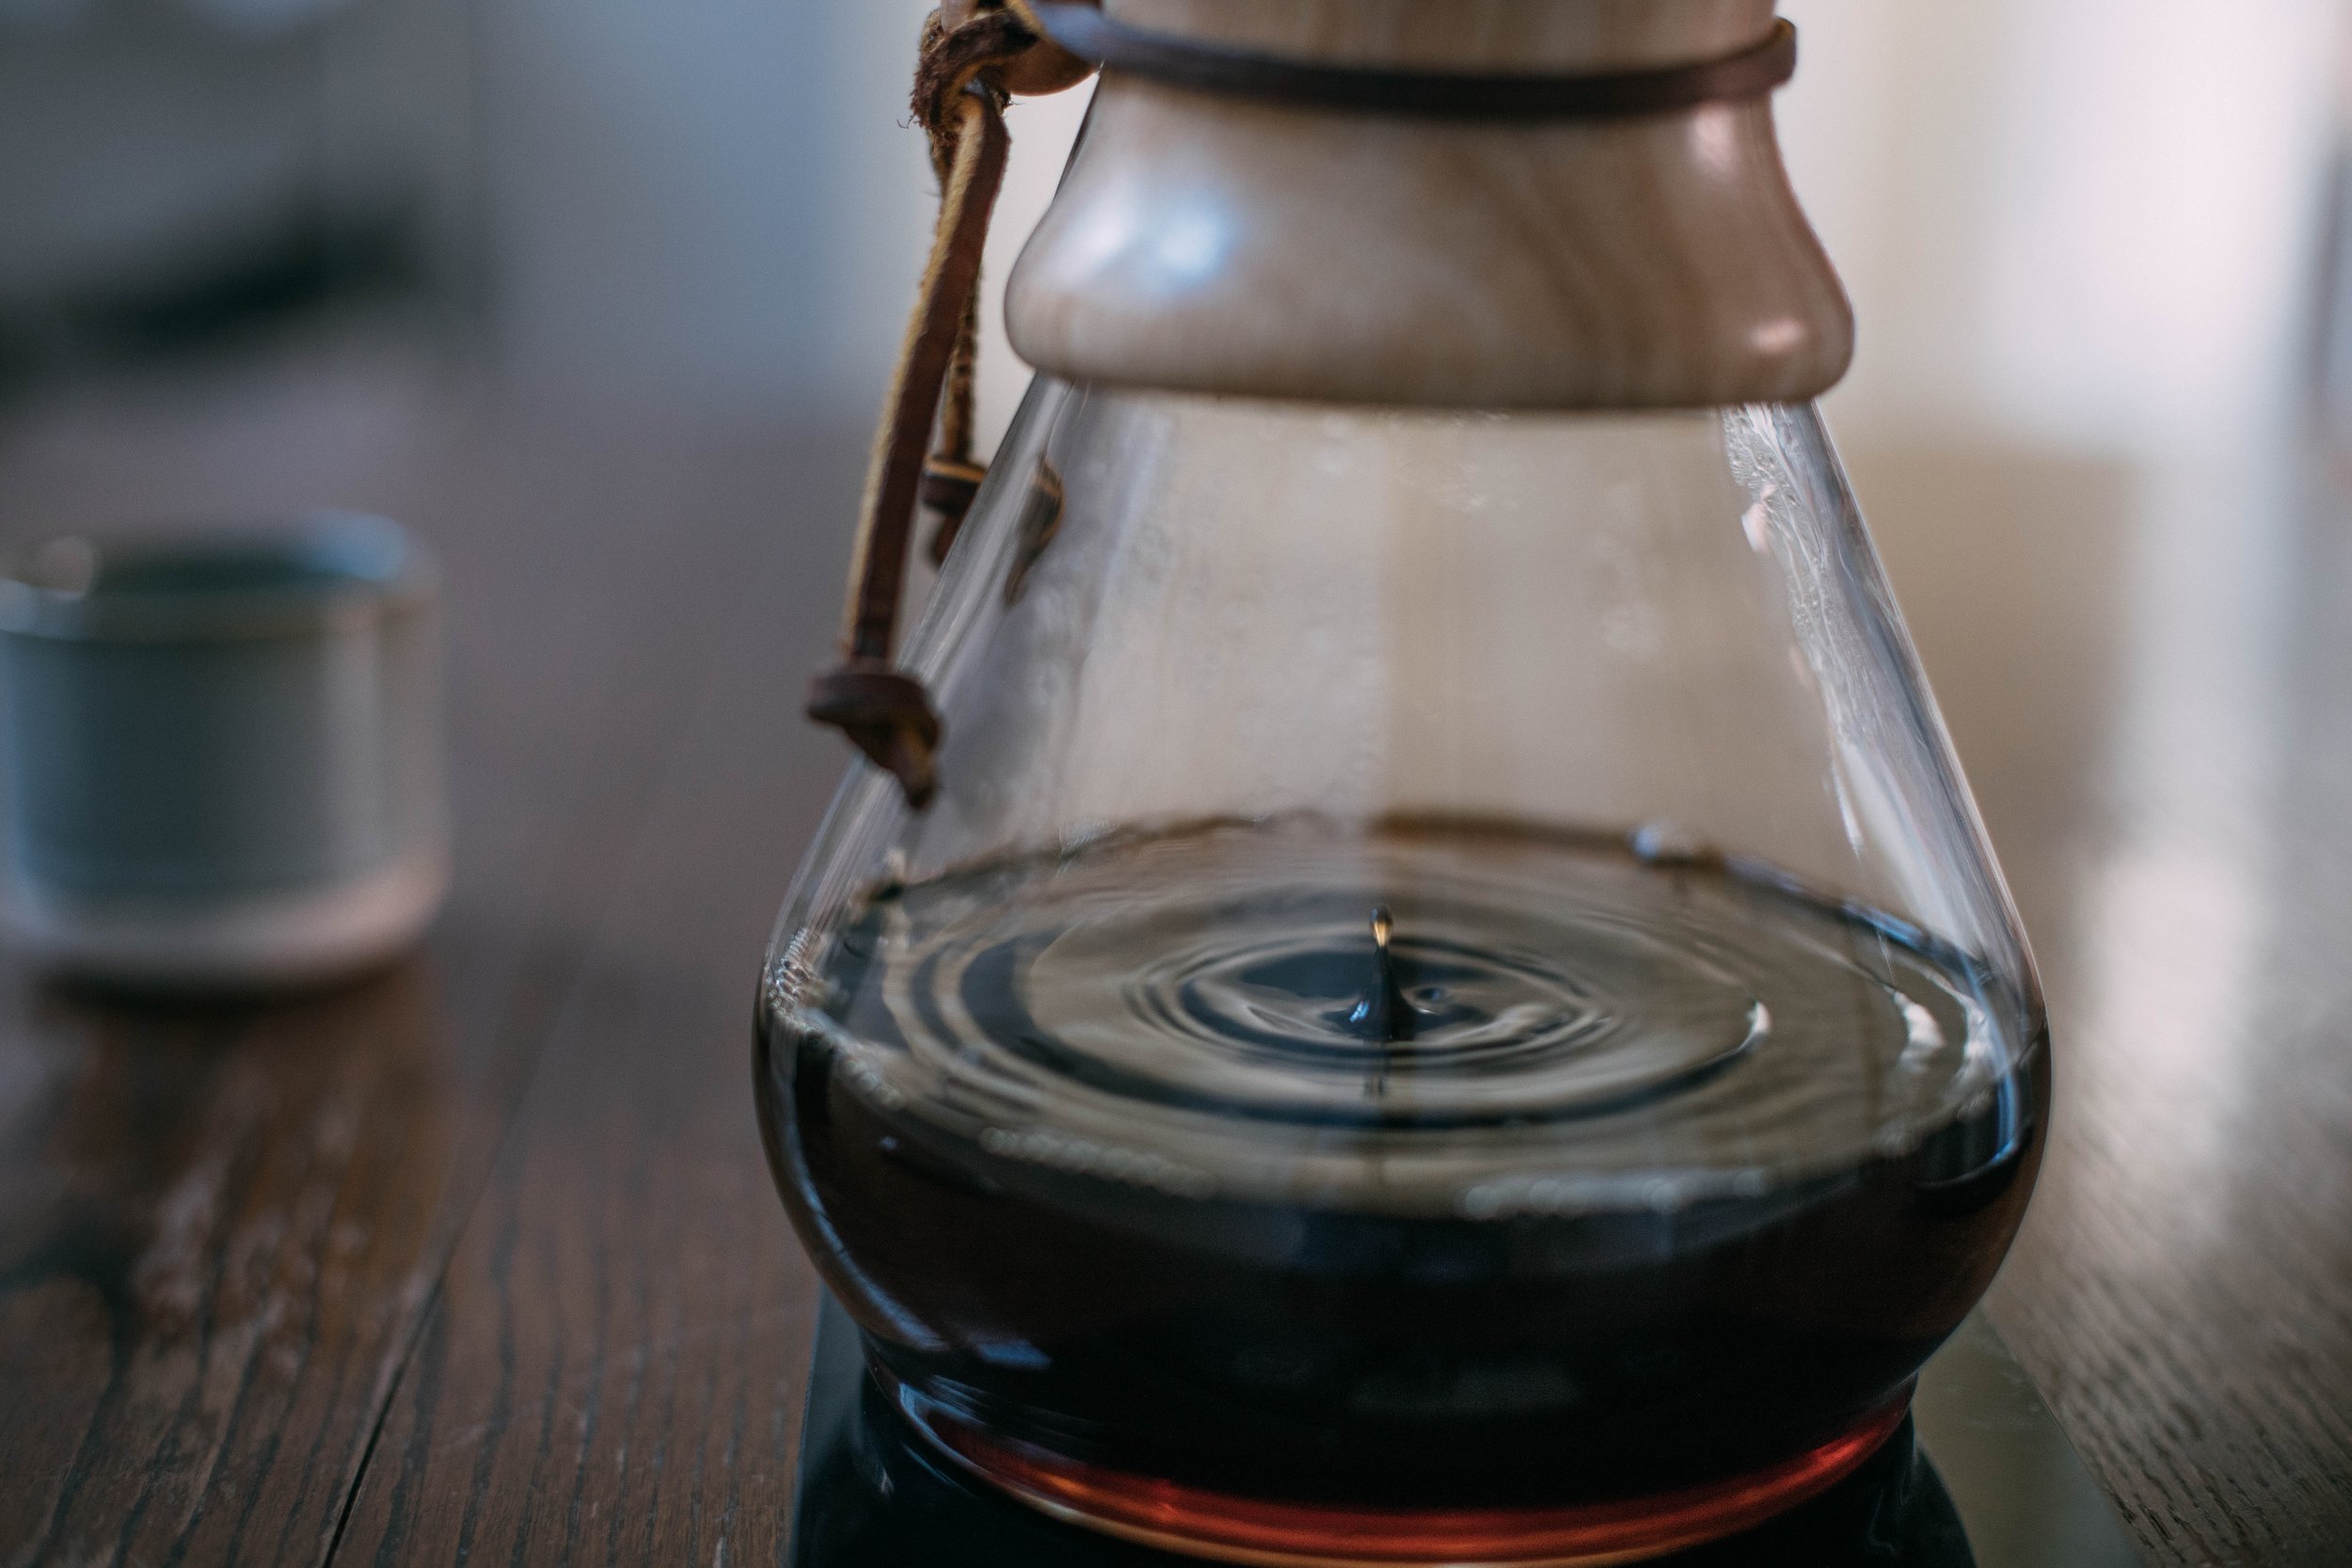
While you’re waiting for the coffee to finish brewing, pour out the water from your coffee mug. Once the coffee has finished brewing, throw away the filter and grinds, and swirl the Chemex. Different flavors are extracted from the coffee at different times, so you want to make sure that they’re combined well. Pour into your favorite coffee mug, and enjoy! Pro-tip: be sure to let it cool down a bit before you drink it - you'll be able to taste the notes of the coffee the more it cools down!
How to Make ICED Coffee Using a Chemex
WHAT YOU’LL NEED:
Burr Grinder (electric or manual)
25g Coffee Beans
Timer
225g+ water
Ice
INSTRUCTIONS:
To make iced coffee using a Chemex, you’ll do mostly the same thing as you did to make coffee with a Chemex, with a few slight changes. You’ll use the same amount of coffee grinds, but with half the amount of water. The ice will make up the difference.
Heat up your water. Grind 25g of coffee beans at the same medium grind. Add a bunch of ice to your Chemex (enough to fill a glass). Put the Chemex filter in and add the coffee grinds. I usually don’t rinse the filter for these. Pour the bloom and let it sit for 30 seconds. Then pour for a minute and a half to two minutes until you hit 225g of water. If you need to pulse pour to make sure you reach your time, you can. That just means you pour just like you do for a regular Chemex, but you can take 5ish second breaks here and there to prolong the brew time. Otherwise you just need to pour with a very small stream of water, very slowly. When it’s done brewing, throw out the filter and grounds, swirl to combine the flavors and ice, pour into your favorite glass and enjoy!